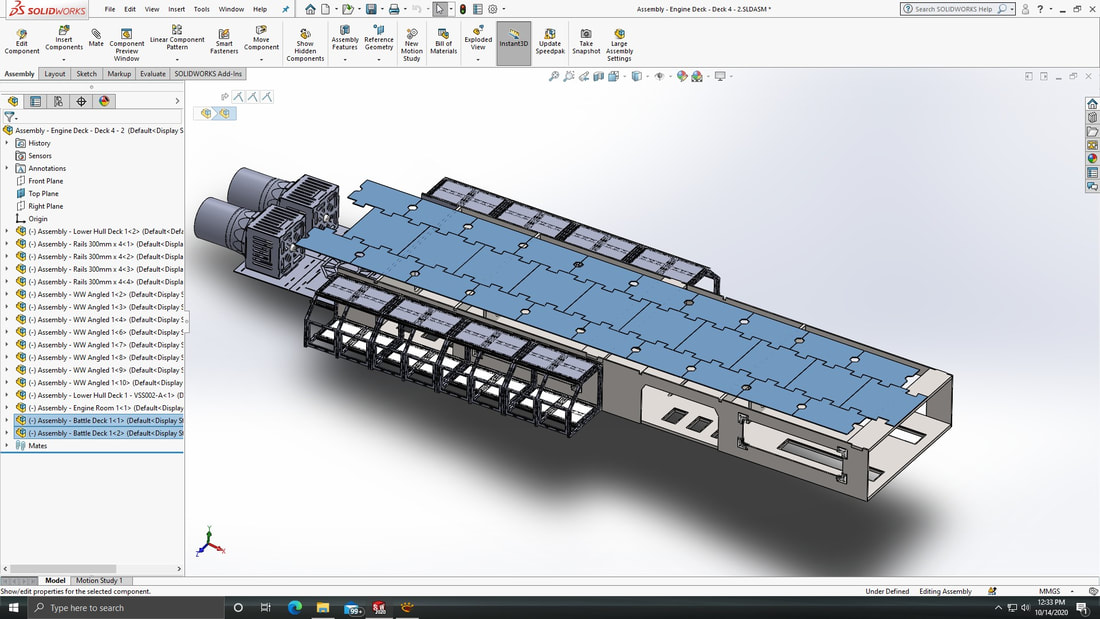
 A New Flight Deck After much thinking and discussing it's been decided that VSS 002 will not use the standard flight deck. Since I only have one standard flight deck to work with I wanted to see about raising the deck up a bit higher. This was an aesthetic decision on my part since 002 will use a custom roof/ceiling over the front half -- the half without a flight deck. The standard flight deck covers the rear half quite well, but 002 is twice as long as the standard VSS, so the length was beginning to present another challenge. A few additional challenges have presented themselves. For example, I would like to use materials I have on hand. For a ceiling that covers the length the ship, I have wood that's about 3mm thick. It's good wood, but the VSS is a heavy ship and a flight deck needs to be added, the middle deck structure that goes between the flight deck also needs to be added, and there's still the bridge -- or bridges in 002's case -- and all that will add weight and stress. To raise the flight deck, as originally planned, there are some additional challenges, but it all comes down to weight and stress. So to address that I think I have a solution. Please keep in mind that the VSS is designed to be broken down for transport and storage. The port and starboard walls are attached to the main structure by screws, but the screws function as hooks -- they don't actually clamp the walls to the structure. The main structure is the MDF floor and interior MDF walls which are thick and strong. The interior walls take the brunt of the weight from flight deck as well. So designing a custom roof/ceiling, one which is raised in the aft section, has it's own challenges. The solution I think is to shift support away from the interior walls and distribute it towards very strong bulkheads. These bulkheads will be 3D printed using a very strong formulation of PLA plastic that has a high anti-shearing resistance. The strong bulkheads will be placed strategically throughout the deck. 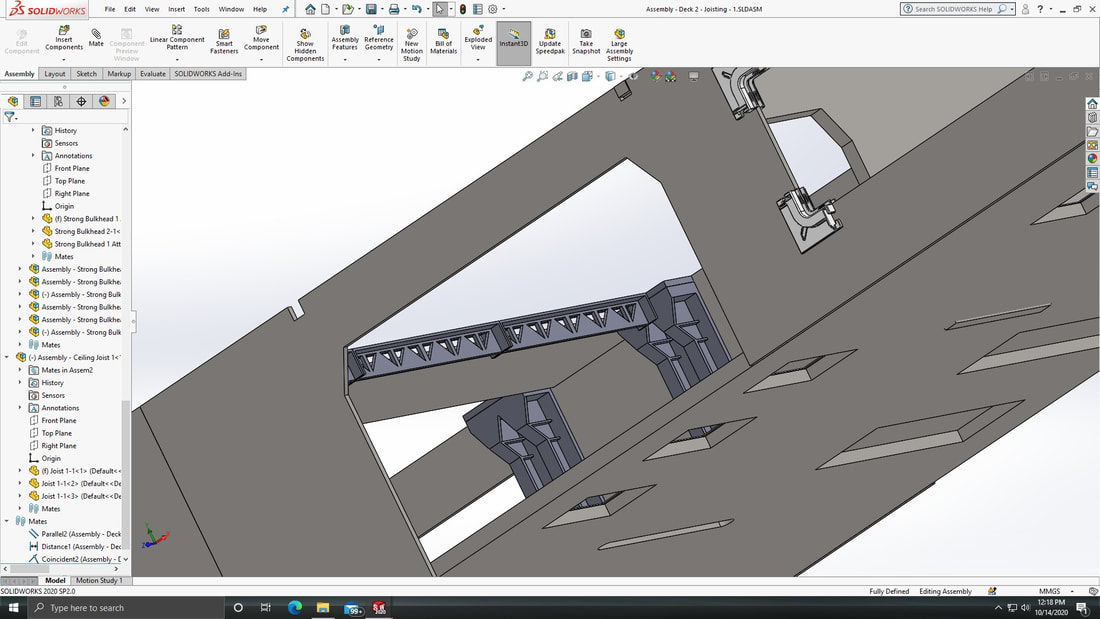 Attached to the bulkheads will be a series of joists spanning the width of the deck. These joists will also be 3D printed. There will be a lot of them. Joists will have to crisscross the deck. Some joists will support props -- catwalks, equipment, A/C ducts, and LED light strips -- but the primary purpose will be to support the ceiling which will be mostly wood reinforced with 3D printing. The ceiling itself will be designed like a puzzle where tiles of wood attach to other tiles a certain way and lock into place. The ceiling itself will also have to have reinforcement. This will be mostly 3D prints of joists. Both the underside and topside will have joists. The joists will attach to the bulkheads. Exactly how they will attach I am still work on that. Current thought is that the bulkheads will have joists of their own, and the ceiling will have it's own network of joists. At some point the two sets of joists will meet and I'll have to determine how they will be secured. So all the screen captures showing the joisting, bulkheads, and ceiling tiles are rough sketches. The joists do not have much joisting, only enough to get the idea across. This is because I have yet to determine the thickness of the parts. One nice thing about the CAD program used to design all of this is I can model stress points and see where I need to optimize a design. This takes time, and even a few hours depending on the design complexity, even with a fast computer. I'm not sure if I'll do that with this project, or even if it's actually necessary.
The bulkheads are going to be a topic for another article. Using specialized plastic and then attaching the bulkheads in such a way for the VSS to be disassembled for transport is worth a close look. Already designed with the bulkheads is the use of neodymium magnets. Because 002 is quite long parts of it can become difficult to align for assembly. A magnet can help align areas. |
DioWarriorsLatest News blog thingy. Archives
May 2024
Categories |
 RSS Feed