|
Before Getting Started This is actually the fourth time I started VSS 002. Unlike the previous versions which were based on the original VSS kit using MDF wood, this version will not be based on the MDF wood, but instead will be relying heavily on 3D Printing materials (PLA, PVB, ASA, and other such plastics) and foam board. This is actually a disadvantage for me since following the original VSS kit using MDF wood made it easy to build around and on that wood. The VSS dimension and shape was already defined and all anyone had to do was add to it. This time, though, I'll have to design everything. Fortunately I did recreate models of the original VSS so that I could design props for it. However, I will not be using those models for this version other than basic width, length, height measurements. The first thing I needed to do was establish a basic width and height. The original kit had a height a little more than 6 inches. A modern 1:18 scale figure is around 100mm tall. Before dismantling my old VSS, I had settled on a height of 300mm. This would enable up to two levels on one deck with enough headroom at each level to appear realistic. So for this new version the goal also became 300mm tall for the interior.
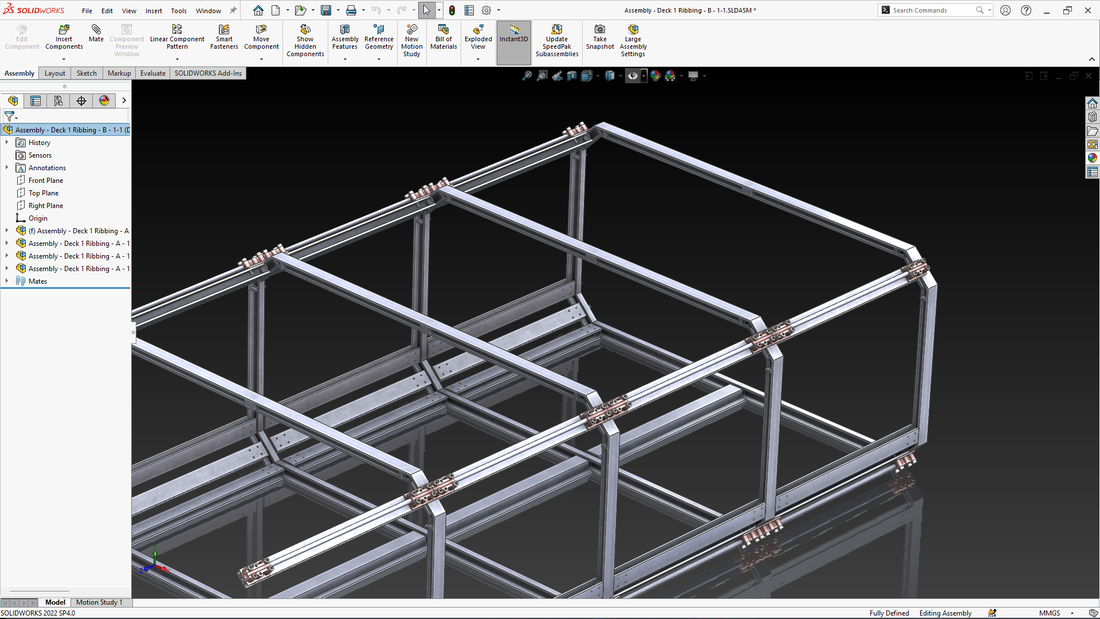
Also, what gave me a challenge with the previous incarnation of VSS 002 was that it was going to be very long. Nearly 12' long. The MDF kit was around 4' long, and since 002 was going to be twice as long, that would've made it 8'. Then there was the engine room extension and engine thrusters -- all together a little more than 11' at the longest deck. Then there was the issue about the front of the ship as I had not given that part much thought. This time around, though, VSS 002 is going to be constructed in a modular way. There will be segments. Length will be achieved by adding segments. The advantage here is that I can focus on assembling a segment before adding to the VSS. I can then make the VSS as long or as short as I need. Disassembly would also be easy as construction would require screwing the segments instead of using glue. The advantage here is parts can easily be replaced or upgraded by simply unscrewing that part. So the design started. I started up SolidWorks and began by taking the interior dimension for the width of the original VSS. Then I designed a frame that would be that interior width. Interior height is 300mm. For added strength and keeping the segments a bit more rigid, stainless steel straws are going to be used. To cover the large open areas, the default material will be foamboard sandwiched between styrene sheets. These are all materials that should be easy to find nearly anywhere. To assemble it all, various screws -- Allen screws (aka socket / stem bolt / torque screws) -- will be used. Each segment will be built using a 3D printed frame (DioWarriors has invested in printers large enough to print these frames). The foamboard and styrene sheets would be laser cut. I will attempt to leave the stainless steel straws as is as I really don't want to have to trim them using a Dremel. |
DioWarriorsLatest News blog thingy. Archives
May 2024
Categories |

 RSS Feed